Windows Terminal 免密登录(明文)
1.下载putty
putty下载地址(https://www.putty.org/) ,选择下载非安装式的压缩包
putty.zip (a .ZIP archive of all the above except PuTTYtel and pterm)
- 64bit x86 https://the.earth.li/~sgtatham/putty/latest/w64/putty.zip
- 32bit x86 https://the.earth.li/~sgtatham/putty/latest/w32/putty.zip
- 64bit ARM https://the.earth.li/~sgtatham/putty/latest/wa64/putty.zip
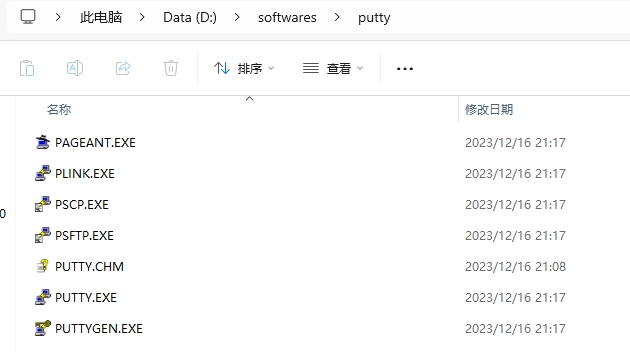
下载完成后解压到任意目录(我放在 D:\softwares\putty )
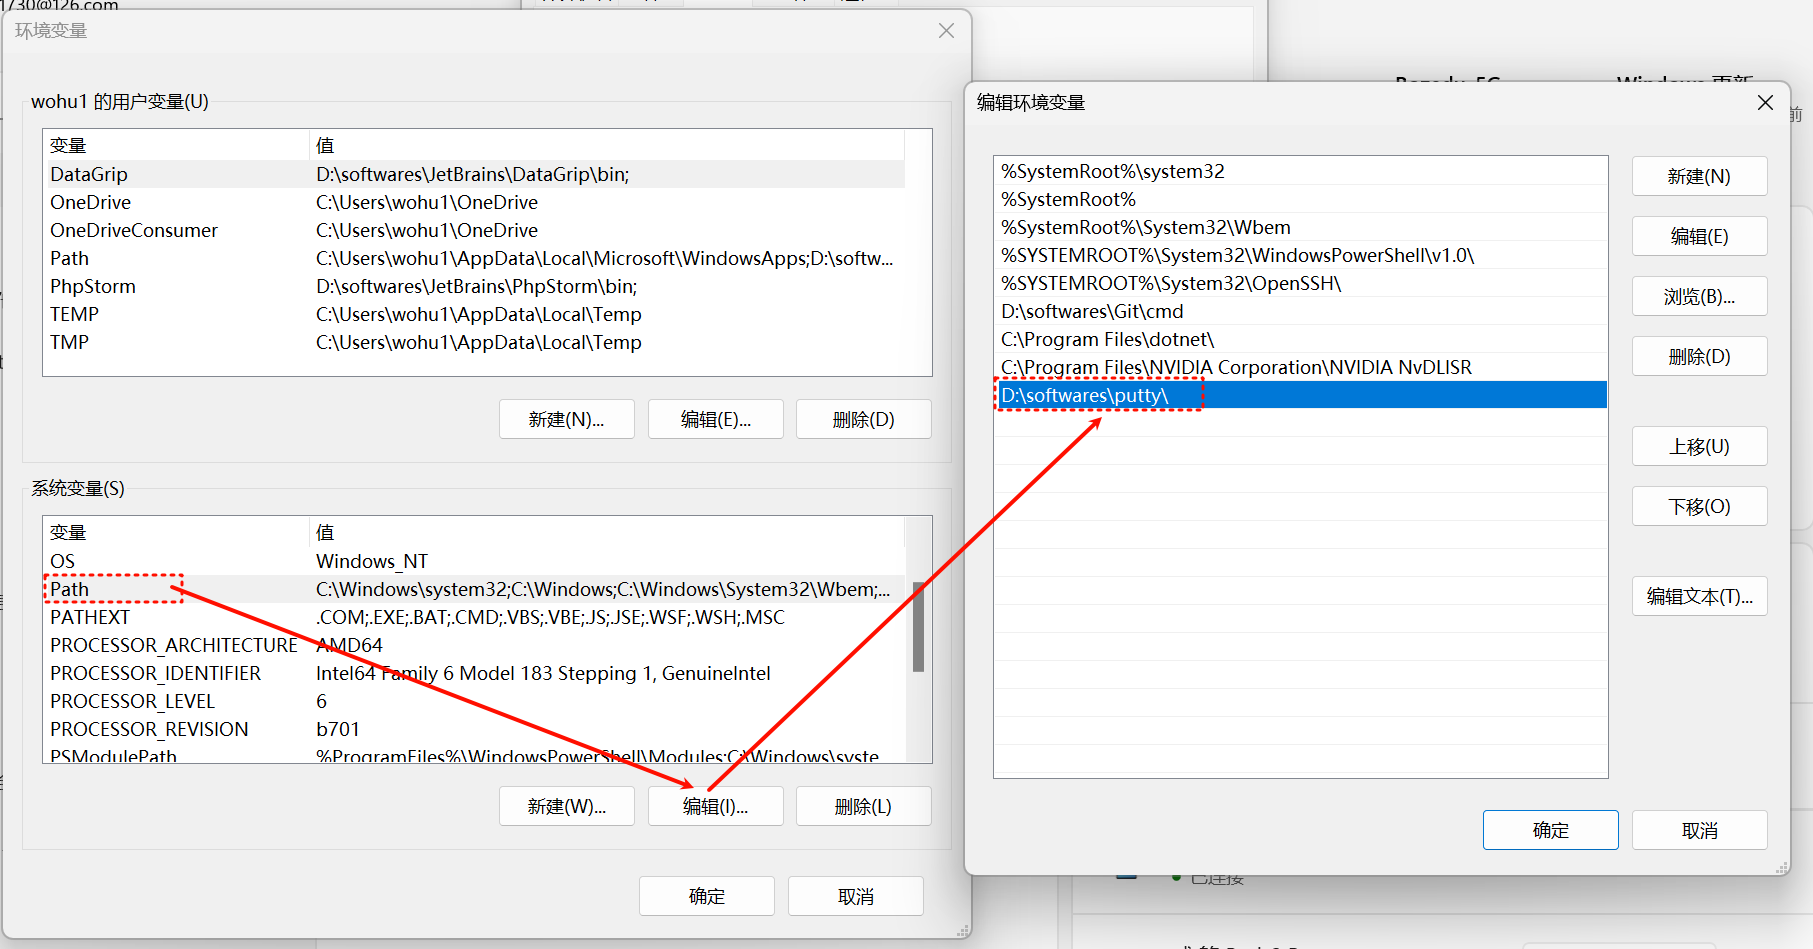
2.配置环境变量
将刚刚putty的目录添加到系统Path环境变量中
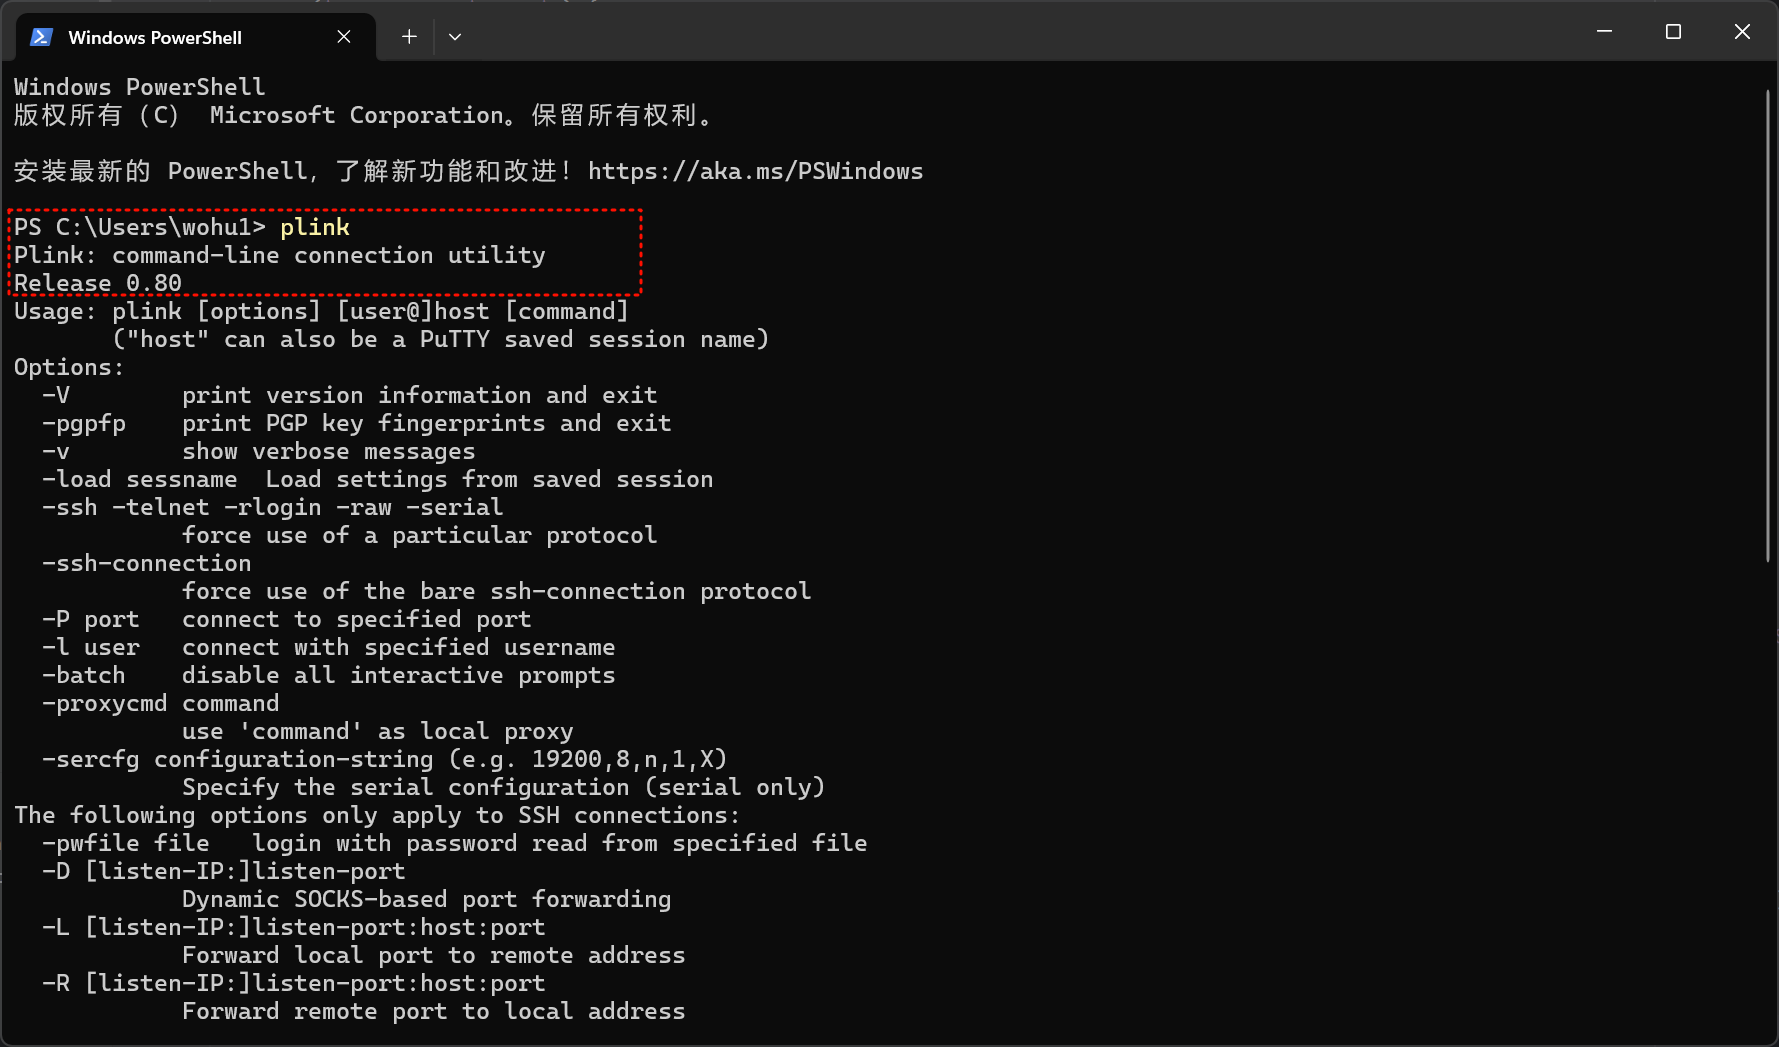
验证
打开终端,输入plink,如下图则plink环境变量已成功
3.新建ssh连接
1 | powershell /c chcp 65001;plink -ssh 地址 -l 用户名 -pw 密码 |
如非默认22端口,则加入指定端口
1 | powershell /c chcp 65001;plink -ssh 地址 -P 端口号 -l 用户名 -pw 密码 |
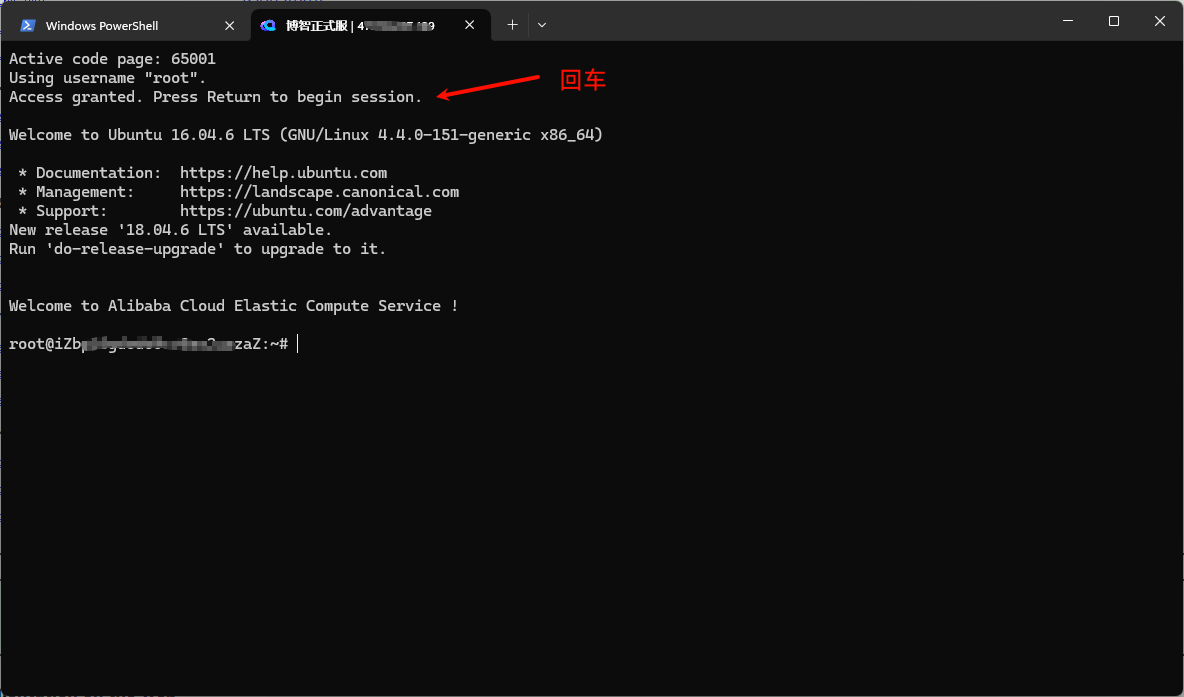
4.测试
选择刚刚新建的配置后,按提示输入y,输入回车